You’re not the first one to experience a stuck car window; we’ve all been there. Many disregard the importance of a properly running up and down window. You might feel ok with the fact that your windows are all the way up, but it’s not until you need to run them down that you really understand how important they are.
Therefore, if you’re a DIY person, fixing your power car window will be an easy task, no matter if your car has power windows or manual windows. All you need are the right tools, this blog, and your enthusiasm to have a perfectly rolling up and down car window.
Where To Get Started
As mentioned before, if you don’t plan on looking for an auto glass repair company, you will need certain tools to fix your car window successfully. These are a plastic panel popper, screwdriver, butyl rubber tape (automotive adhesive), 3M super adhesive, safety gloves, voltmeter, test light, and finally a door panel faster.
Step 1: Looking Out For Gaskets & Seals
Check the rubber trimming that surrounds the window when it’s all the way up to make sure it’s not worn out, loose, or broken. If it’s loose, then you must apply the 3M super adhesive around the loose areas.
Step 2: Test The Fuse
One probable reason why your car window is stuck may be due to a blasted fuse. If this is the case, then replacing it would be the action to take. Make sure your car is turned off, and look for the fuse box using a test light. Correctly remove the blown fuse and replace it with a new one.
Step 3: Check Your Switch Panel
If a fuse is not the problem, you may want to try checking the motor connector in the switch panel. Detach it from the door and connect it to the voltmeter. Then, push the switch buttons while the ignition is on. You should see the voltmeter change from plus 12 volts to minus 12 volts. Otherwise, you might have to replace the switch panel.
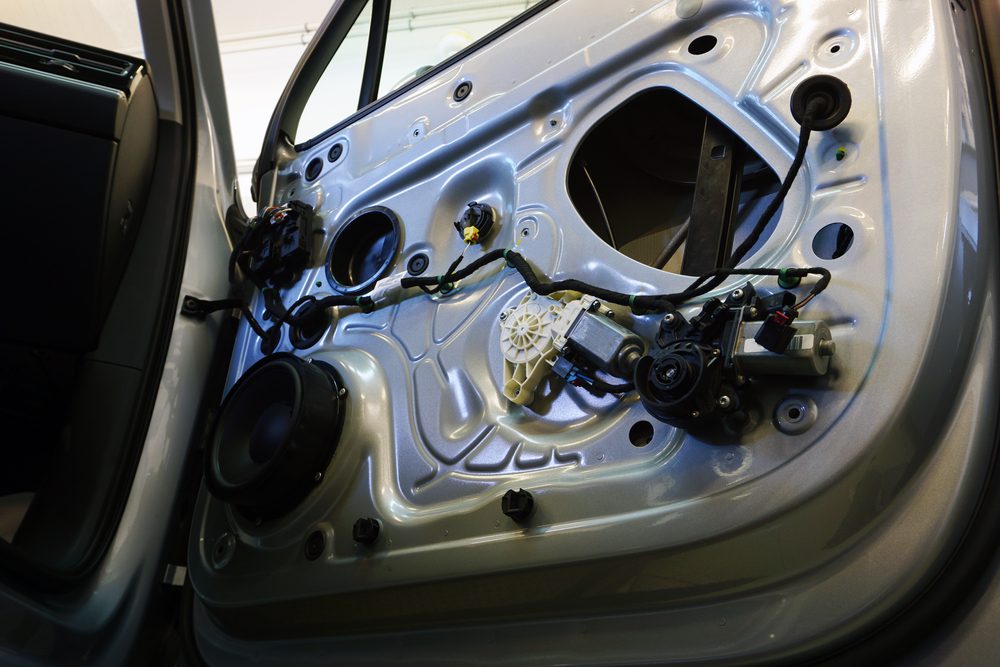
Step 4: Removing The Panel From The Door
In this step, we wish to check if the motor and regulator mechanism is working properly. Remove the fasteners to release the panel in order to expose the casing that covers the regulator.
Step 5: Pulling Out The Glass From The Door
Remove the glass away from the door before checking the regulator. You may want to ask for help in this step, so someone helps you handle the glass when removing it once you’ve removed the panel.
Step 6: Replacing The Regulator
All you need to do now is loosen up the bolts that hold the regulator to the door casing. Take the regulator out from one of the openings and replace it with the new one. Then put back the bolts, reconnect all electrical connections in the door, place the glass, and secure the door panel.
Got Lost In The Way? Contact Pacific Auto Glass Today!
Yes, things can get messy, especially if you’re not an expert. At Pacific Auto Glass, we have over 20 years of experience replacing and repairing from the front and rear windshields to the side glass. If you’re looking for a car window repair company and live in Mesa, Arizona, feel free to reach out. We have your back!